Stamp Camp, Let’s Chat, Tutorial Thursday, Facebook, and more fun

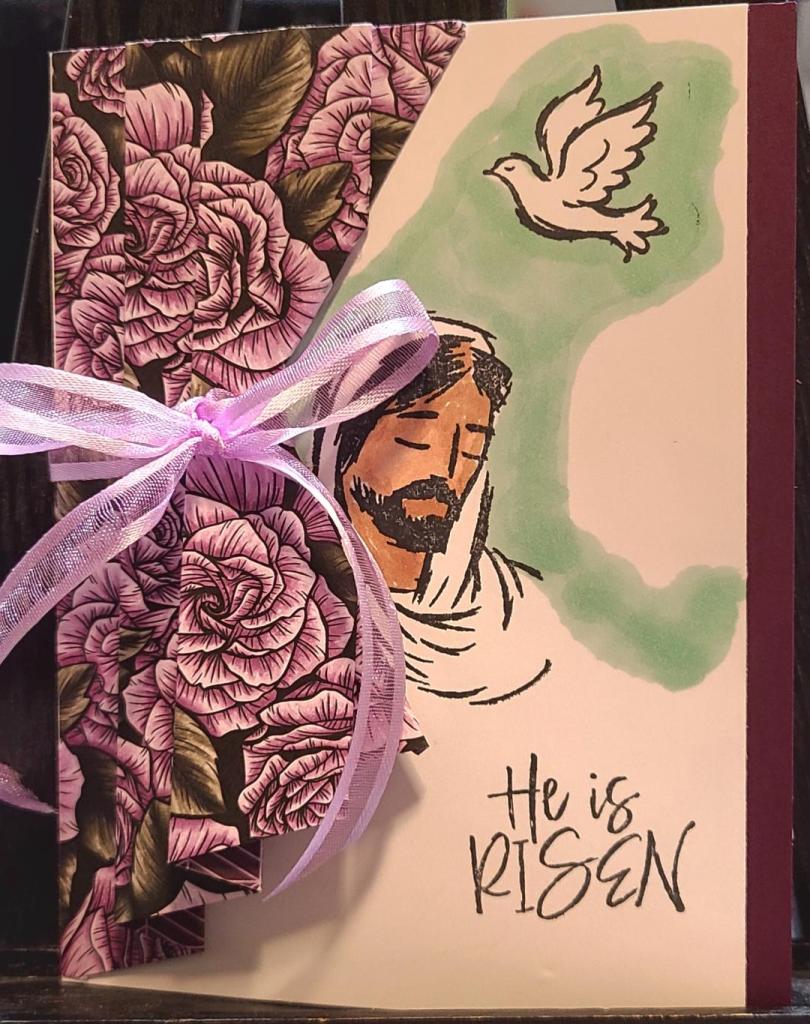
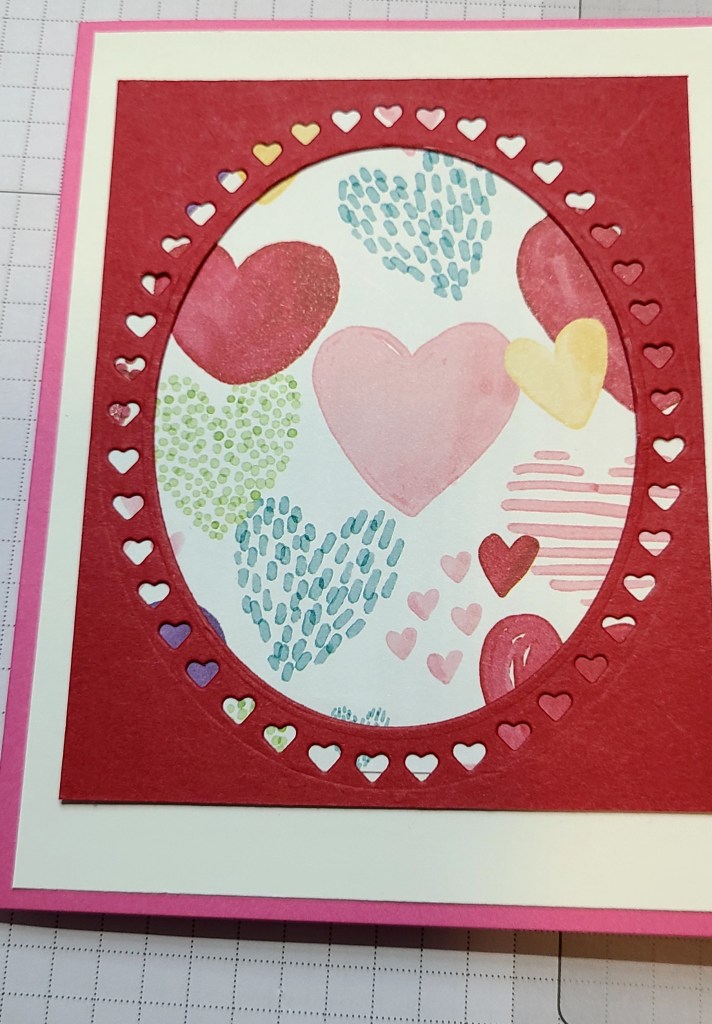
Stamp Camp is a fun way for locals to come to my house and create cards. There are baskets with with different themes and card supplies in them. You choose which you would like to do, grab the basket and make the card. There is a cost for each card. You prepay a nonrefundable deposit of $10 to reserve your spot. This helps me know how many packets I need. Once there are no more in the basket, they are gone. You bring your own basic supplies like adhesives, dimensionals, scissors, and any tools you like to use. Do you need those supplies? Go to my online store – HERE – and click SHOP. You then can go to adhesives, tools, etc. The card kits contain all you need to make the card. Stamp sets, blocks, and ink are provided. I have Stamp Camp two to three times a year so watch the calendar. The next one is Saturday, November 16, 2024, from 10 AM to 2 PM. If you would like to reserve a spot for Stamp Camp, I take Zelle, Paypal, cash, even Square, so credit cards work. Contact me at my Niecylovestostamp@yahoo.com -and I will get back to you. Please reserve a spot by November 9. There are limited spots.

I do not want to leave the others who are not locals out. I will have Let’s Chat sessions on most Wednesday evenings, 6 PM MST. This will be on my YouTube channel – https://www.youtube.com/@niecycraftsandmore. In addition, I will be adding tutorials on most Thursdays. I call it Tutorial Thursday. Anyone can see the videos I post on my channel. Tutorials will be card making demonstrations, techniques, new catalog walkthroughs and other lessons that might help my customers.

I am also on Facebook, Stamping with Niecy. I will post videos and information there as well.

Speaking of Facebook, I have a Card Swap Group. It is strictly for SU! products with three to four swaps given monthly. Members are put into groups of ten to twelve at the most. They make enough of the same card design to mail one to each group member. It is really exciting to receive the cards in the mail. The talent is amazing. We also showcase the cards from our swaps through monthly reveal posts and cover photos. Check it out HERE. We would love new members. Just answer the membership questions and join.

Do not forget that you earn rewards for purchasing from me. You can see those in the Menu of this blog. Please review them. Of course, when you order directly from Stampin’ Up! they offer rewards as well. All reward programs are based on a certain amount spent before shipping and tax.

Please ask me if you have any questions. Comment here, on Facebook, or send an email to Niecylovestostamp@yahoo.com. I am here for you!

Thank you for sticking with me! I love my customers and friends!

Denise LaFave

Tutorial Thursday July 6 2023 Countryside Corners Birthday, Bonus Days

Once again, I cannot seem to add certain links to my YouTube video. I have attached the directions for this card to this post.

July Classes in the Mail

On another note, remember my Classes in the Mail for July. If you would like to order one or both, contact me at Niecylovestostamp@yahoo.com.

#1 Holiday Cottage Wreaths includes Stamps and all card stock additional items to make nine cards, three of three versions. You will also receive envelopes and a PDF file to follow with instructions. This set does not include the dies, so I will cut them out before mailing. Card Classes in the Mail are always sent by Priority Mail. $47.50*

*ink pads, adhesives, and blocks for the stamps are also needed and not included

#2 Little Monkey includes stamps, punch, white gel pen, guts for nine cards, three of three versions for nine total, a PDF with instructions, envelopes, and Priority Mail. $63.50*

*ink pads, adhesives, and blocks for the stamps are also needed and not included

BONUS DAYS

All month you may earn a $5 coupon for every $50 you spend, before tax and shipping, through my online store – HERE. Earning period is July 6th through July 31 and Redeeming period is August 1st through August 31.

Tutorial Thursday and Legendary Ride

I completed my TT and have it downloaded on my YouTube Channel – YouTube.com/@niecycraftsandmore. I could not add links to my video and need to work on it. To be sure anyone that wants to CASE this card can do so, I will leave instructions here, too.

See the YouTube video at https://www.youtube.com/watch?v=WhCCJAxK4GE&t=21s

You may see supplies needed, measurements, and instruction at

Swaps with the Cali Girls and Tutorial

I’ve been wanting to create a card with a drapery fold for sometime, since Easter! I planned to make them and send to my swap gals in California. Well, life happened and it I didn’t get them done for Easter. I like it so much, however, I decided to make them an early Easter card for 2024! I completed the cards for our June Swap and also made my Tutorial Thursday video to post to my YouTube Channel later this week. Please check it out on Thursday at Youtube.com/@niecycraftsandmore.

The difference in colors is simply lighting on my camera.

Happy Stamping!

Valentine’s Day Card and Tutorial Thursday

Hello! I’m sorry I had to cancel Wednesday Chat yesterday as I wasn’t feeling well. I plan to return next Wednesday at 6PM AZ time.

I uploaded a tutorial for a Valentine’s Day Card today for Tutorial Thursday on my YouTube Channel and will share it here too.

Supplies you will need:

Instructions:

  • Choose your orientation. The size of the card is the same, but do you want it to open from top or side and do you want it landscape or portrait?
  • Get all of your card stock and DSP ready, measured, cut, and scored.
  • Glue one Basic White piece to the front. This is your first layer.
  • Take your Real Red CS piece and your Framed Florets die with the hearts around the edges, center the die, secure with Labeling Tape, if needed, and cut using your Cut and Emboss Machine. Do the same using the other oblong frame to cut out the middle. Be sure to center and secure the die so it cuts evenly. This can be done with one cut only instead of two, if you feel confident.
  • Take your piece of Designer Series Paper and glue carefully to the back of the Real Red CS. This will be your second layer on the front of the card. Center and glue it over the first white layer.
  • Now cut out a Polished Pink heart and a Basic White one using a punch or fussy cutting it. With dimensionals, attach both over the red layer off to the side (see pics).
  • Stamp your sentiment with ‘Sending Love Your Way’ or another stamp of choice using Real Red ink on your leftover white strip. Trim the strip, attach dimensionals to the back and arrange on your card.
  • Take two to three Polished Pink self-adhesive embellishments and attach to sentiment for bling.
  • Make a small bow with Polished Pink ribbon and glue with a glue dot over the layer.
  • Take your two strips of Real Red CS and Sweet talk DSP and glue the DSP over the Real Red piece just leaving a little to the left for effect. Glue the entire piece to the left side of the inside white layer. Center and glue the white layer the inside.
  • You now have a sweet Valentine’s Day Card!