Hello! I’m sorry I had to cancel Wednesday Chat yesterday as I wasn’t feeling well. I plan to return next Wednesday at 6PM AZ time.
I uploaded a tutorial for a Valentine’s Day Card today for Tutorial Thursday on my YouTube Channel and will share it here too.
Supplies you will need:
- Polished Pink Card Stock base (A2 size 5.5″ x 4.25″ One base sheet, cut and scored either landscape or portrait orientation; 1 small square 2″ x 2″)
- Basic White Card Stock (two pieces cut 5.25″ by 4; one small piece 2″ by 2″; one piece roughly 3″ by 2.5″ for sentiment)
- Real Red Card Stock (one piece 4.5″ by 3.75,” for front layer; one strip 4″ by about .75″)
- Sweet Talk Designer Series Paper – Retired or another of your choice
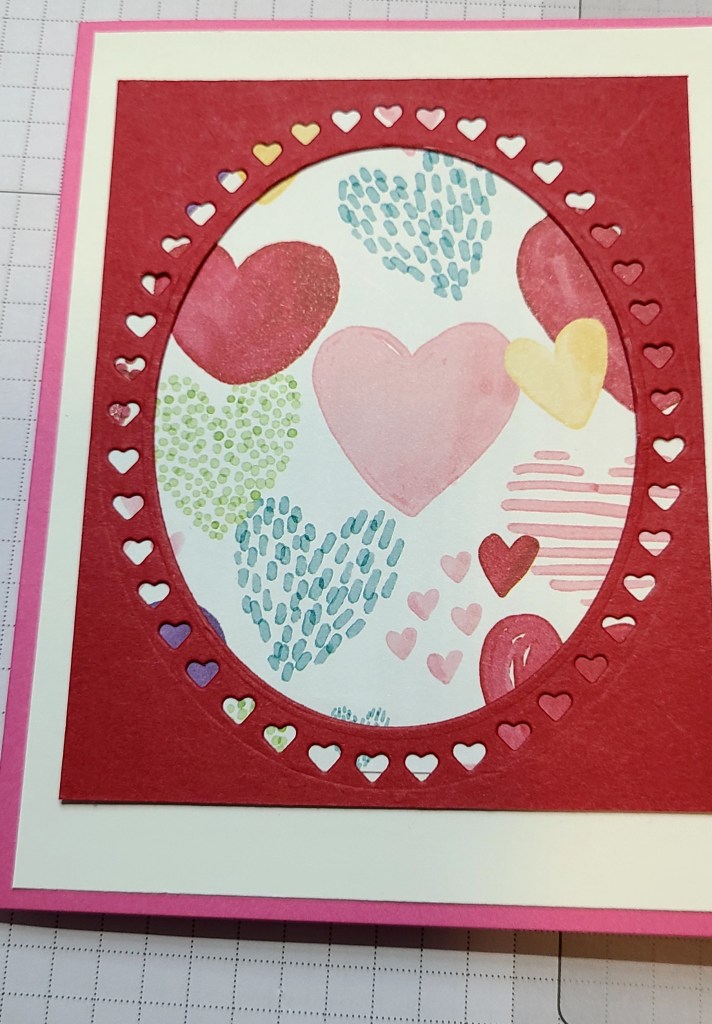
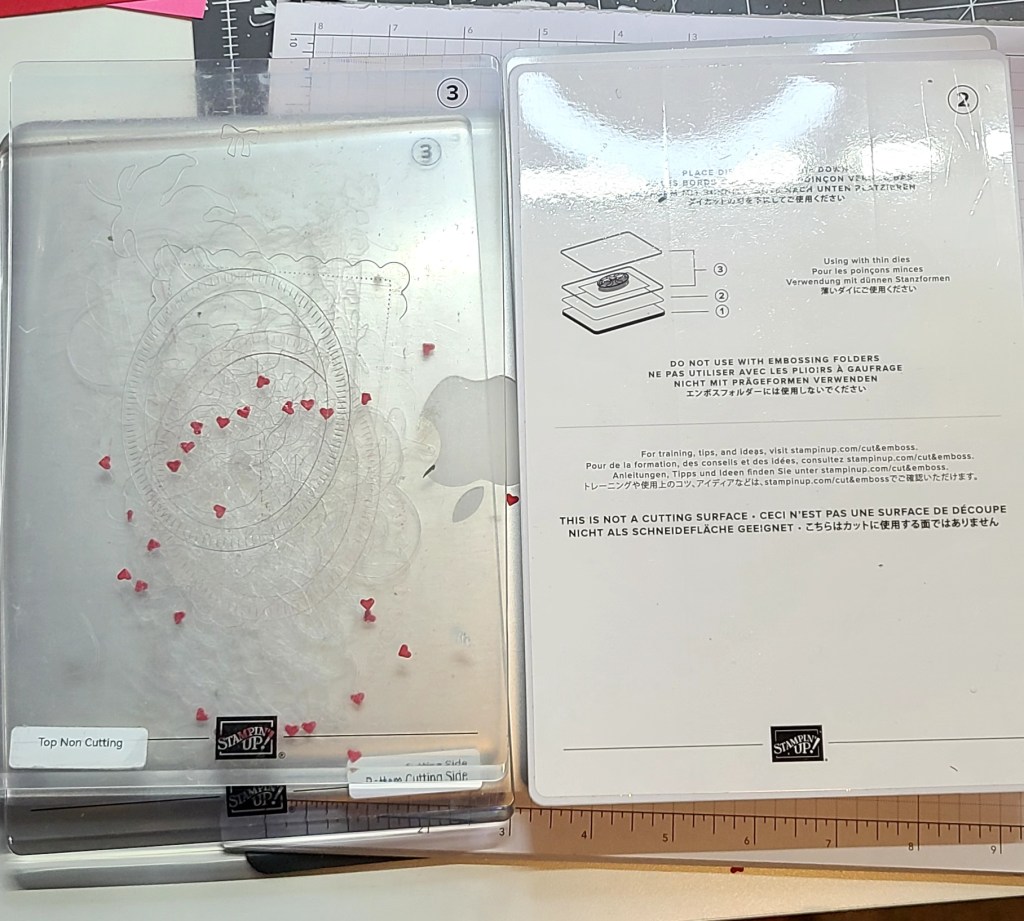
- Framed Florets Dies (You will use two oblong frames only, one is surrounded by hearts, the other is smaller – see pictures)
- Polished Pink Ribbon and about three Polished Pink self adhesive embellishments
- Real Red Stamping Pad or Ink
- Heart Punch or Cut out your own – There is still a larger one on Clearance
- January 2021 Paper Pumpkin stamp or another of choice.
- Adhesive craft runner or Tombow Multipurpose glue
- Dimensionals
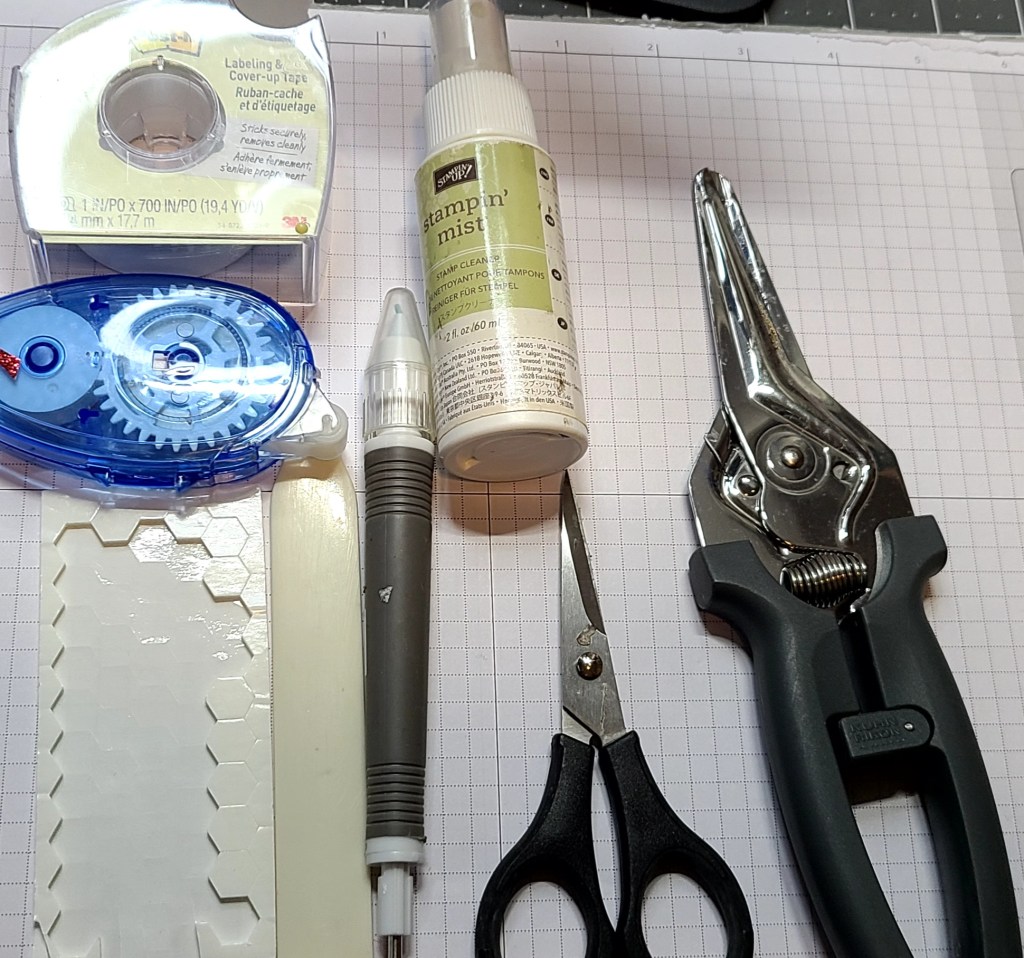
- Snipps, one for paper, separate one for ribbon (Other scissors okay)
- Bone Folder
- Take Your Pick tool
- Mini Glue Dots
- Post-it Labeling Cover-up Tape
- Craft Sponges
- Cut and Emboss Machine
- Paper Trimmer
Instructions:
- Choose your orientation. The size of the card is the same, but do you want it to open from top or side and do you want it landscape or portrait?
- Get all of your card stock and DSP ready, measured, cut, and scored.
- Glue one Basic White piece to the front. This is your first layer.
- Take your Real Red CS piece and your Framed Florets die with the hearts around the edges, center the die, secure with Labeling Tape, if needed, and cut using your Cut and Emboss Machine. Do the same using the other oblong frame to cut out the middle. Be sure to center and secure the die so it cuts evenly. This can be done with one cut only instead of two, if you feel confident.
- Take your piece of Designer Series Paper and glue carefully to the back of the Real Red CS. This will be your second layer on the front of the card. Center and glue it over the first white layer.
- Now cut out a Polished Pink heart and a Basic White one using a punch or fussy cutting it. With dimensionals, attach both over the red layer off to the side (see pics).
- Stamp your sentiment with ‘Sending Love Your Way’ or another stamp of choice using Real Red ink on your leftover white strip. Trim the strip, attach dimensionals to the back and arrange on your card.
- Take two to three Polished Pink self-adhesive embellishments and attach to sentiment for bling.
- Make a small bow with Polished Pink ribbon and glue with a glue dot over the layer.
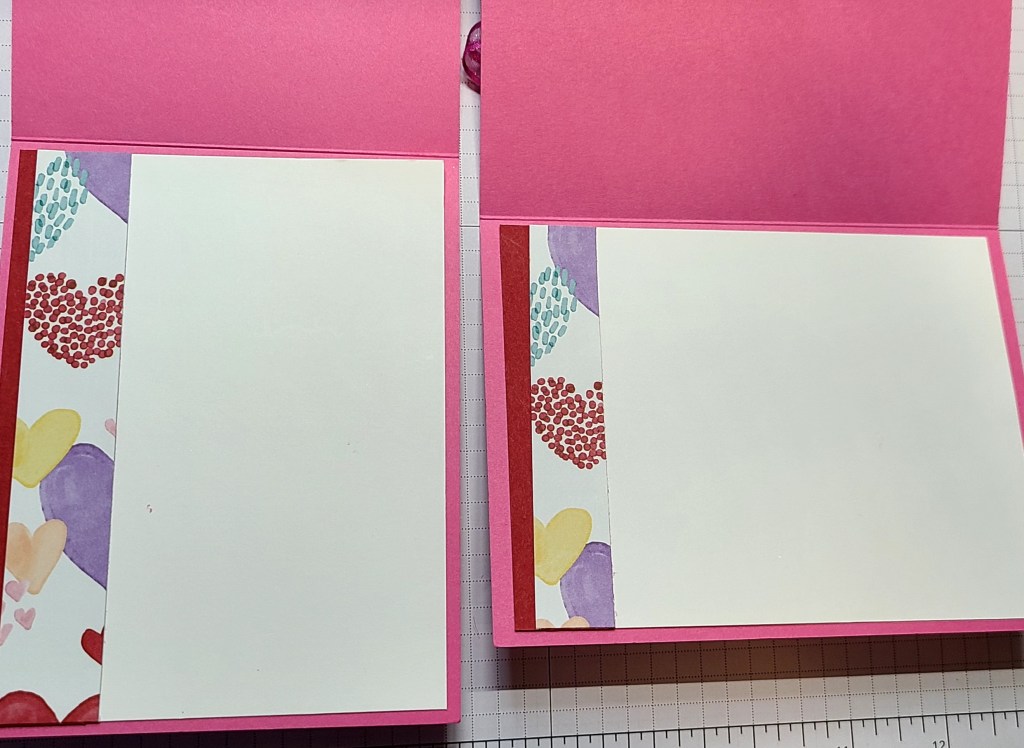
- Take your two strips of Real Red CS and Sweet talk DSP and glue the DSP over the Real Red piece just leaving a little to the left for effect. Glue the entire piece to the left side of the inside white layer. Center and glue the white layer the inside.
- You now have a sweet Valentine’s Day Card!