Tutorial Thursday July 6 2023 Countryside Corners Birthday, Bonus Days

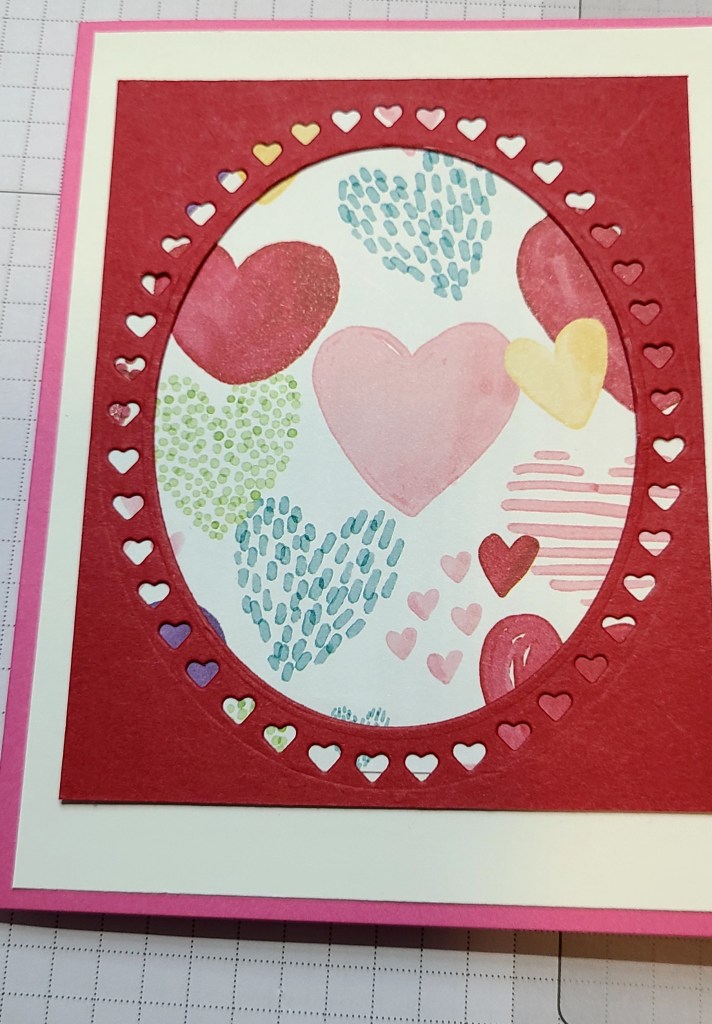
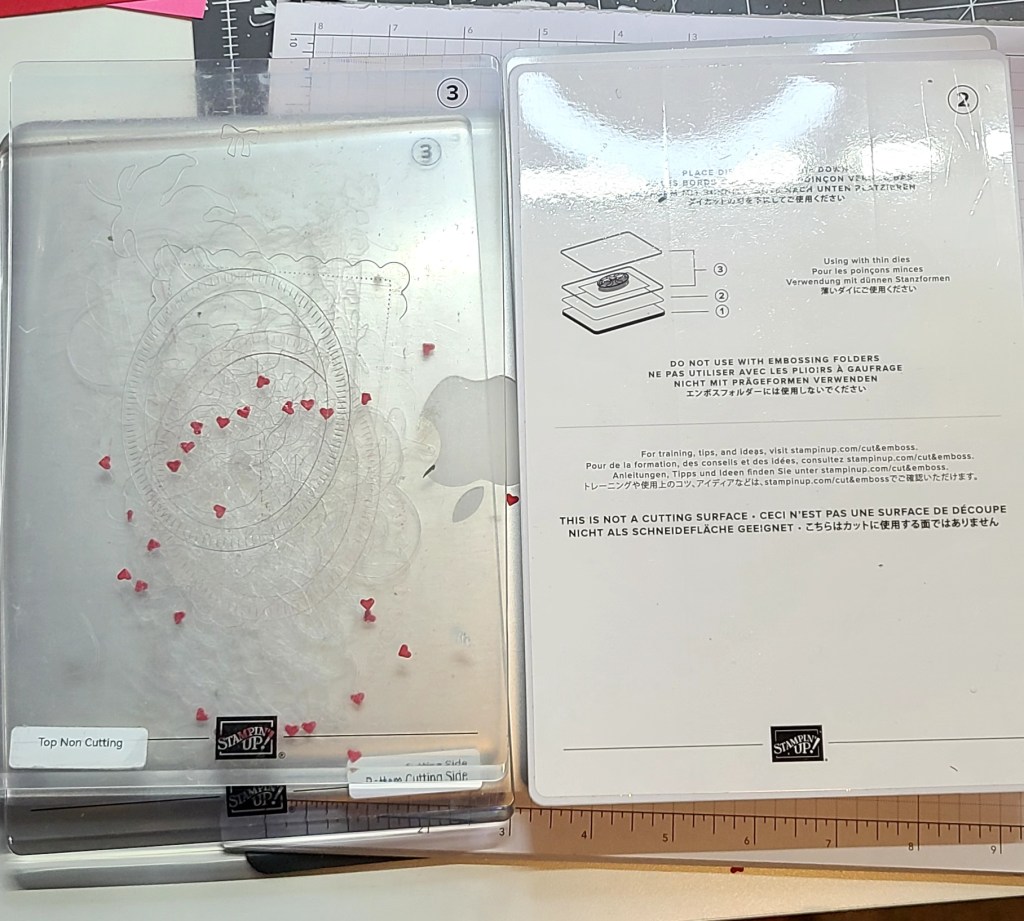
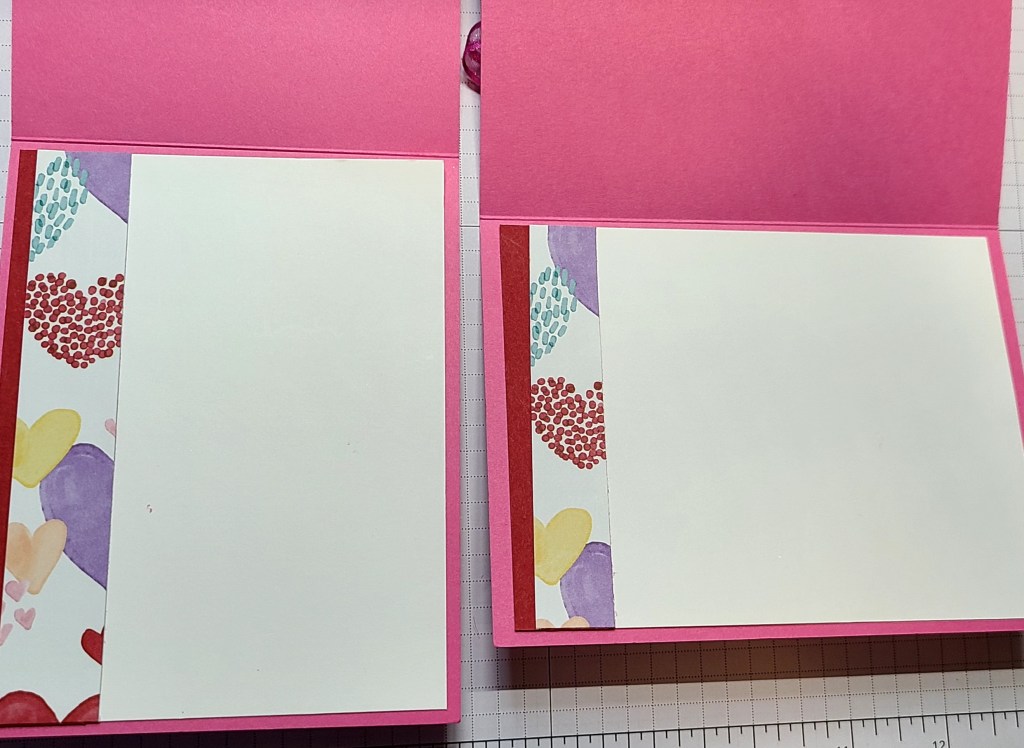
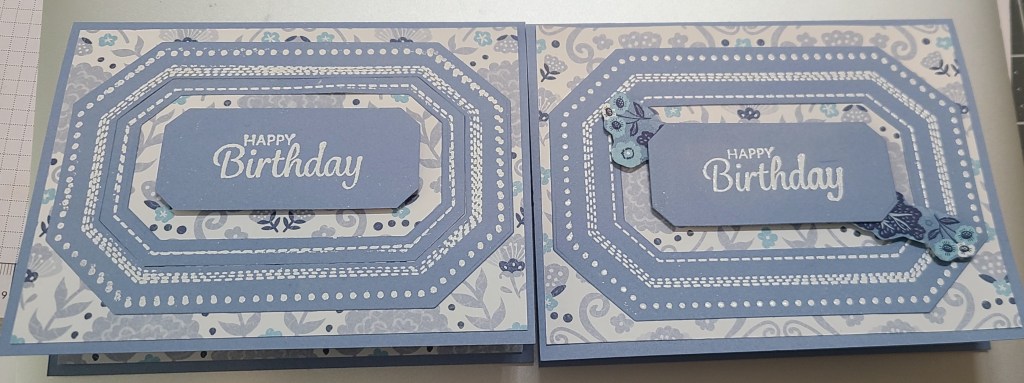
Once again, I cannot seem to add certain links to my YouTube video. I have attached the directions for this card to this post.

July Classes in the Mail

On another note, remember my Classes in the Mail for July. If you would like to order one or both, contact me at Niecylovestostamp@yahoo.com.

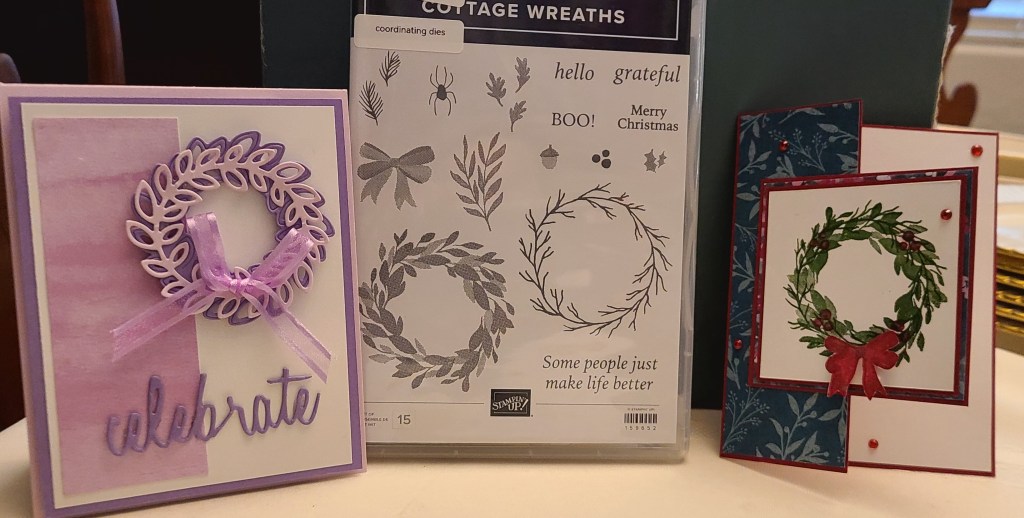
#1 Holiday Cottage Wreaths includes Stamps and all card stock additional items to make nine cards, three of three versions. You will also receive envelopes and a PDF file to follow with instructions. This set does not include the dies, so I will cut them out before mailing. Card Classes in the Mail are always sent by Priority Mail. $47.50*

*ink pads, adhesives, and blocks for the stamps are also needed and not included

#2 Little Monkey includes stamps, punch, white gel pen, guts for nine cards, three of three versions for nine total, a PDF with instructions, envelopes, and Priority Mail. $63.50*

*ink pads, adhesives, and blocks for the stamps are also needed and not included

BONUS DAYS

All month you may earn a $5 coupon for every $50 you spend, before tax and shipping, through my online store – HERE. Earning period is July 6th through July 31 and Redeeming period is August 1st through August 31.

Valentine’s Day Card and Tutorial Thursday

Hello! I’m sorry I had to cancel Wednesday Chat yesterday as I wasn’t feeling well. I plan to return next Wednesday at 6PM AZ time.

I uploaded a tutorial for a Valentine’s Day Card today for Tutorial Thursday on my YouTube Channel and will share it here too.

Supplies you will need:

Instructions:

  • Choose your orientation. The size of the card is the same, but do you want it to open from top or side and do you want it landscape or portrait?
  • Get all of your card stock and DSP ready, measured, cut, and scored.
  • Glue one Basic White piece to the front. This is your first layer.
  • Take your Real Red CS piece and your Framed Florets die with the hearts around the edges, center the die, secure with Labeling Tape, if needed, and cut using your Cut and Emboss Machine. Do the same using the other oblong frame to cut out the middle. Be sure to center and secure the die so it cuts evenly. This can be done with one cut only instead of two, if you feel confident.
  • Take your piece of Designer Series Paper and glue carefully to the back of the Real Red CS. This will be your second layer on the front of the card. Center and glue it over the first white layer.
  • Now cut out a Polished Pink heart and a Basic White one using a punch or fussy cutting it. With dimensionals, attach both over the red layer off to the side (see pics).
  • Stamp your sentiment with ‘Sending Love Your Way’ or another stamp of choice using Real Red ink on your leftover white strip. Trim the strip, attach dimensionals to the back and arrange on your card.
  • Take two to three Polished Pink self-adhesive embellishments and attach to sentiment for bling.
  • Make a small bow with Polished Pink ribbon and glue with a glue dot over the layer.
  • Take your two strips of Real Red CS and Sweet talk DSP and glue the DSP over the Real Red piece just leaving a little to the left for effect. Glue the entire piece to the left side of the inside white layer. Center and glue the white layer the inside.
  • You now have a sweet Valentine’s Day Card!