
Get ready—this is a jam-packed, super helpful post! Feel free to take breaks between sections and come back as often as you like. Every part is filled with useful info for both brand-new and experienced crafters. Don’t let the length scare you—this is meant to support you, not overwhelm you. Remember, you absolutely do NOT need to purchase everything on this list, especially at the beginning. Move through it slowly, section by section, and pick up what works for you right now.
SOME BASICS TO GET YOU EXCITED!
You or someone you know is new to card making and other paper crafting, and that is so exciting! Do not feel intimidated for even a second—I am right here to cheer you on and guide you. This section is designed especially for you, the beginner, so you can dive in with confidence and have fun as you learn.
You can create beautiful paper crafts by starting slowly and enjoying the process. Kits are wonderful for learning, gaining confidence, and even elevating your projects to the next level. As you go, you may want to enhance your skills by revisiting some basics and trying new techniques. Kits are inclusive; all materials for the project the kit is designed for are included, so you can relax and just start crafting. Personally, I love the creative thrill of adding my own ideas and elements to card kits—even after years of card making! I use Stampin’ Up! products for my own designs, and I use kits to spark inspiration and give me a fun starting point to jump from. And remember, you never have to buy everything at once—add tools and products slowly as your creativity grows.
This comprehensive guide will be your go-to reference, a resource you can return to again and again as you grow. You will learn the basics, discover tools and techniques that are necessary or simply helpful, and experience the joy of knowing you are giving your loved ones something you made with your own hands. People absolutely love the gesture—and the cards and projects themselves! You will feel amazing knowing you are sending joy to others. Over time, as you keep learning and designing (at your own pace!), this can blossom into a beautiful, fulfilling hobby. Take it one section at a time, and let yourself enjoy every step.
This guide will answer many of the questions you may have and give you the confidence and excitement to move forward with your crafting journey. Keep reminding yourself: you do not need everything right away—start small, explore each section, and let your skills and supplies grow naturally over time.
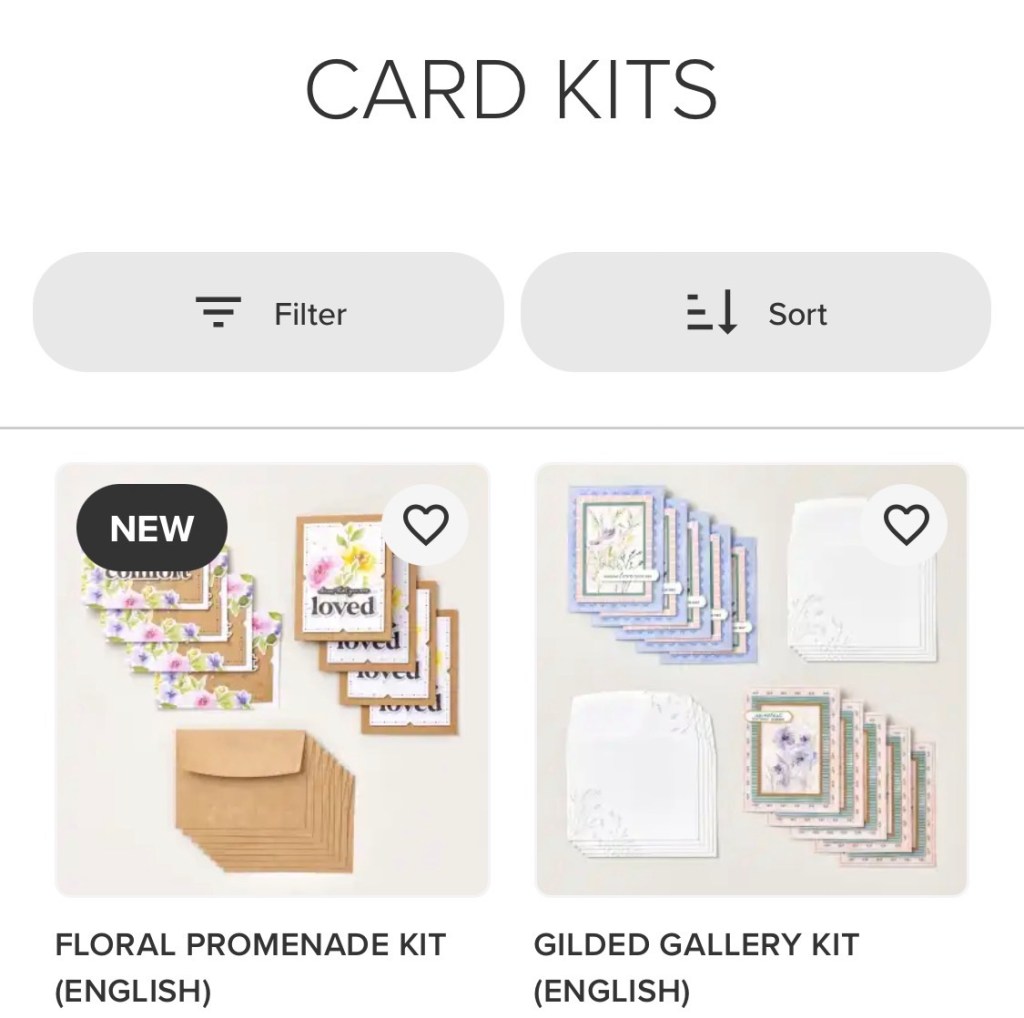
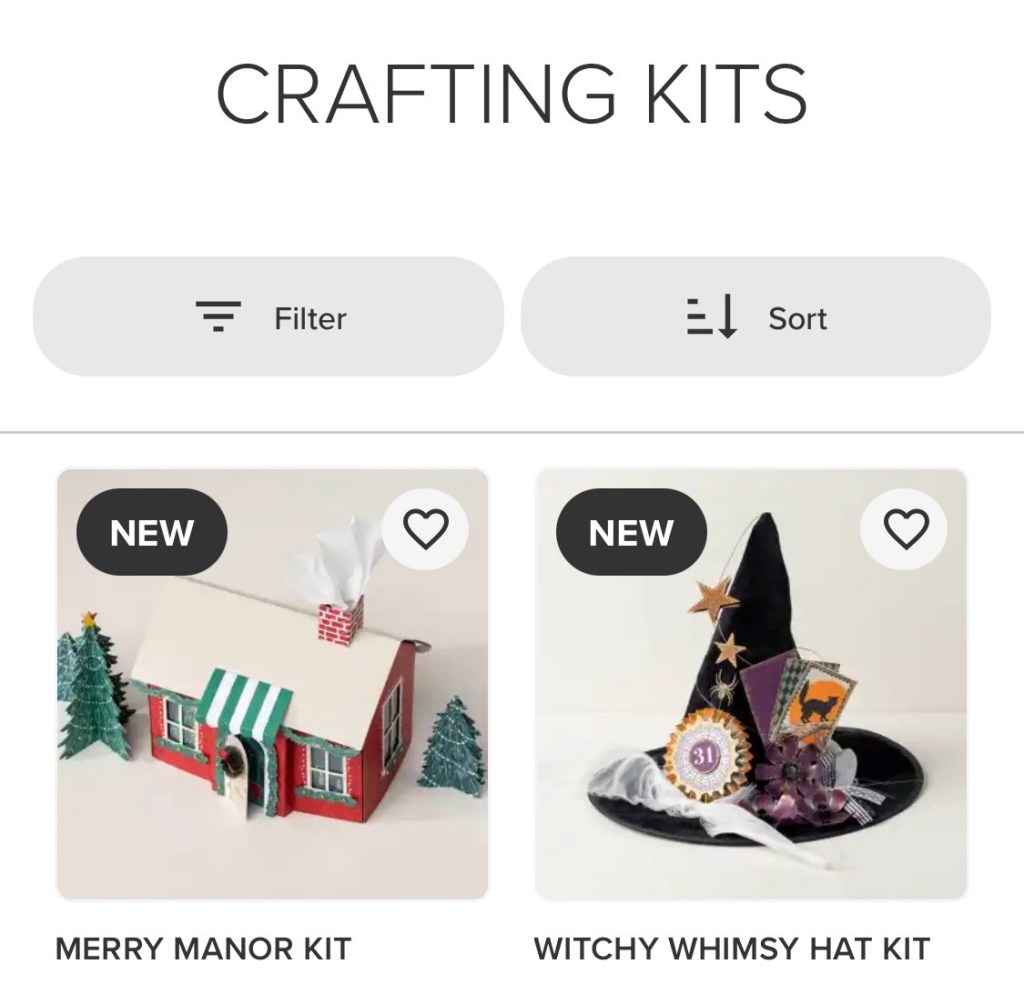
LET’S GET STARTED!
There are just a few basic steps to begin, and you can absolutely grow over time—no need to buy everything at once. First, gather a few essential supplies like stamps, ink, paper, and adhesives. There are lots of other fun tools you can explore later, but for now, focus on the basics and enjoy the process!
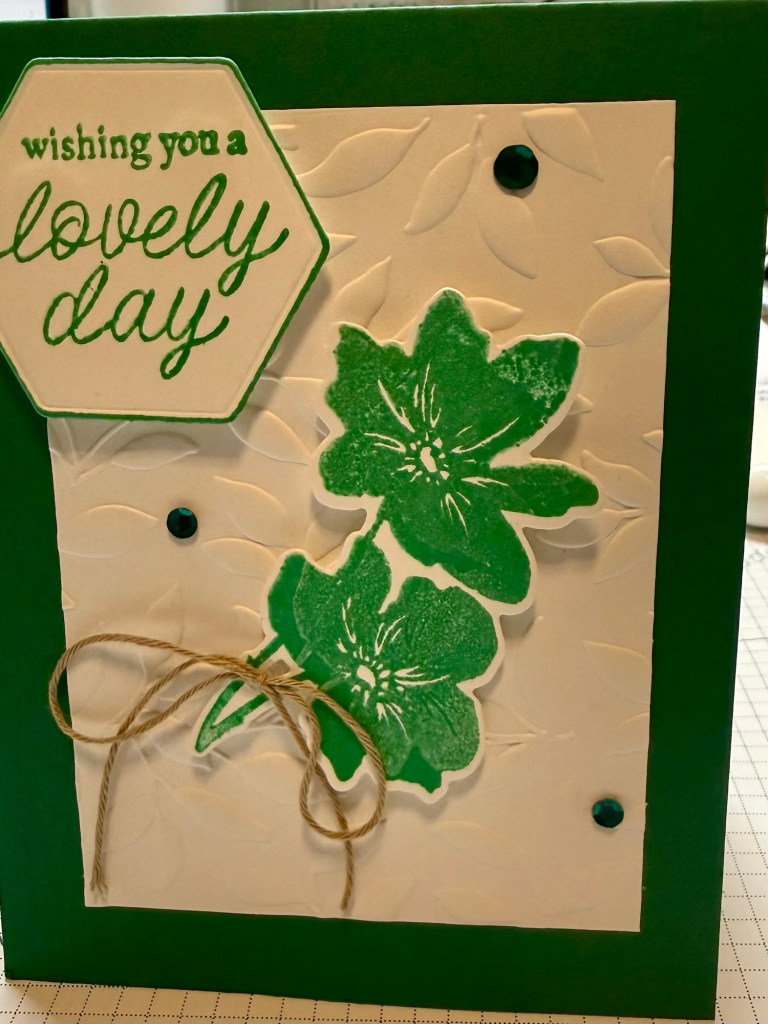
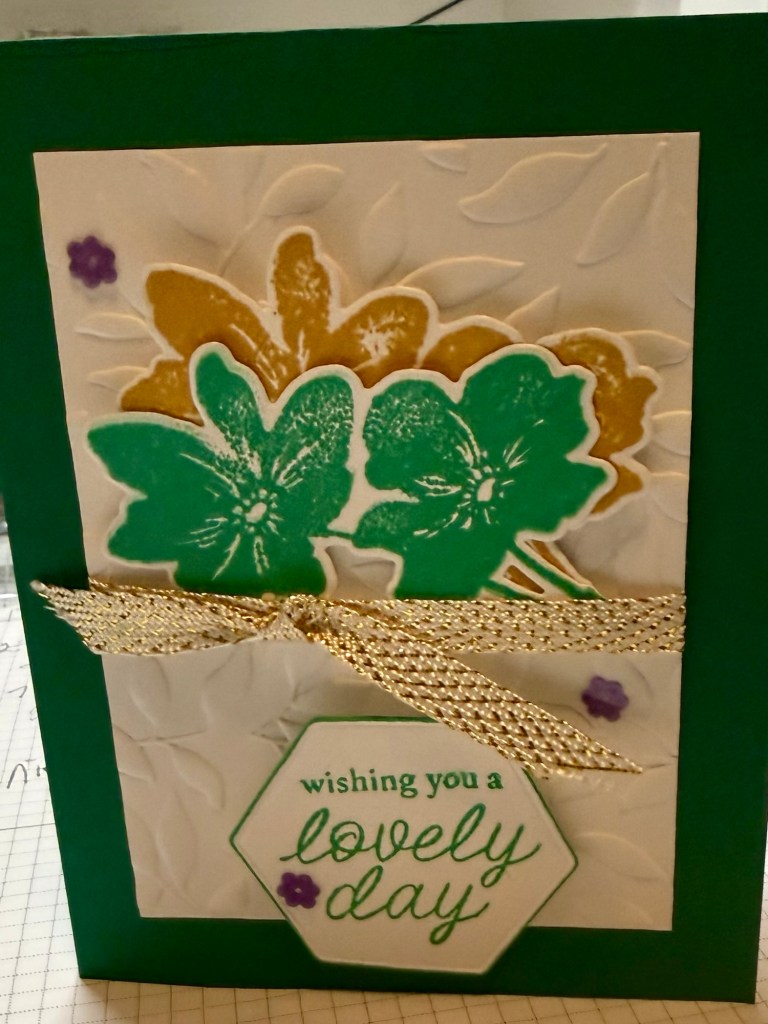
Start with very simple greeting cards and let yourself play. Everyone has a birthday, right? A simple birthday card is the perfect place to begin, whether you’re brand-new or an experienced crafter getting back to basics. Over time, you’ll naturally want to try new, more involved projects. Here is an example of three cards—simple, better, and elevated. There is absolutely nothing wrong with simple, especially as you begin and learn, and even seasoned stampers return to simple designs for quick wins and creative refreshes!
HOW TO ORDER PRODUCTS (ONE STEP AT A TIME!)
It is always best to choose an experienced Demonstrator and learn from that person—someone who will cheer you on at every step. There are many out there, but I would truly love to be that person for you! I am here to answer questions, help you order, teach, and even build a team of happy card makers! I also love my customers and want you to feel appreciated. I use a reward system to allow my customers to earn FREE product or save some money, at the very least. I will post about my personal reward system and the SU! system where you earn even more later. That gives you two exciting ways to earn and build your supplies over time, instead of feeling like you have to buy everything at once.
First, this blog is a great reference and jumping-off point. At Niecycrafts.com, you can click the SHOP tab, which will take you straight to my online store. You may also reach it HERE. It is a direct line to SU! products for sale, either in a catalog or online with exclusives that come out three or four times a year—so fun to browse! The Online Exclusives are not in the catalog, so checking in my store regularly is helpful and a bit like a treasure hunt. Stampin’ Up! moves product through pretty quickly, so ordering items through my store right away ensures you do not have to wait for reorders. I personally sell retired products as well, which is another exciting way to build your stash slowly and affordably. Those orders would go directly through me, not Stampin’ Up! (You will start collecting “tulips” once you purchase $50 or more, before tax and shipping, from me directly or through my online store. You earn your 10% SU! reward through them directly. More on this later.) Again, shop in my SU! store for current products, and find retired items on my blog or newsletter. I also sell through Facebook. If you are signed up as my customer, you may earn tulips even with retired products purchased through me—another fun reason to take it one order at a time!
Check out any Classes in Mail, online classes, or other events on this blog and EVENTS in the online store HERE. These are fantastic ways to learn new techniques without needing a huge stash of supplies. Watch my tutorials on YouTube to try a new technique or fold HERE. (More tutorials will come soon.) There is an abundance of inspiration online, so you can keep growing at your own pace. Stampin’ Up! Demonstrators are thrilled when customers make one of our creations or use one to spark a design of their own, whether you’re just starting or already a seasoned crafter.
Placing your order online is easy and exciting! First, be sure to designate me as your demonstrator or use a link I’ve provided. A pop up message will ask you for customer information so your orders go through smoothly. Be sure to provide that information this one time and OPT IN for the Rewards Program! You do not want to miss out on any rewards—earning as you go is a fantastic way to build your supplies step by step. Once you have given all your information, go shopping (HERE). Follow the prompts to complete your order and it is shipped directly to you. It’s that easy and so rewarding!
SELECTING YOUR STAMP SETS (START SIMPLE, GROW BIG!)
Stampin’ Up! has a huge variety of stamps for all interests, so browsing is half the fun! Look HERE. Our current stamps are cling photopolymer stamps, but they have been rubber and wood blocked in the past. The current stamps are clear, which makes positioning easier and more precise—great for beginners and experts alike. Here’s a quick tip for the stamps: rub your fingers over them for a bit when new, like you are trying to take something off the stamps. We call this conditioning. There is another way to do this, also. We carry a stamp pad called VersaMark (102283). You will learn more about VersaMark as you go, but stamping with VM a couple of times, and then with ink, really helps with conditioning.
Back to stamps. You will find a plethora of images and words for most interests and occasions. A well-rounded stamp set to begin with is best—something that lets you make a lot of different cards without buying a ton of sets right away. As you progress, you can expand your collection, but start with a basic one that has pretty or cute images and sentiments that you are drawn to. Choose a general sentiment that may work for different occasions. A Thinking of You or Just a Note sentiment can be used for birthdays, sympathy, get well, congratulations, etc. In time, you will develop your own personal style and know what you will use often, and you can add more sets as your confidence and creativity grow.
FINDING YOUR INK PAD (YOU DON’T NEED EVERY COLOR!)
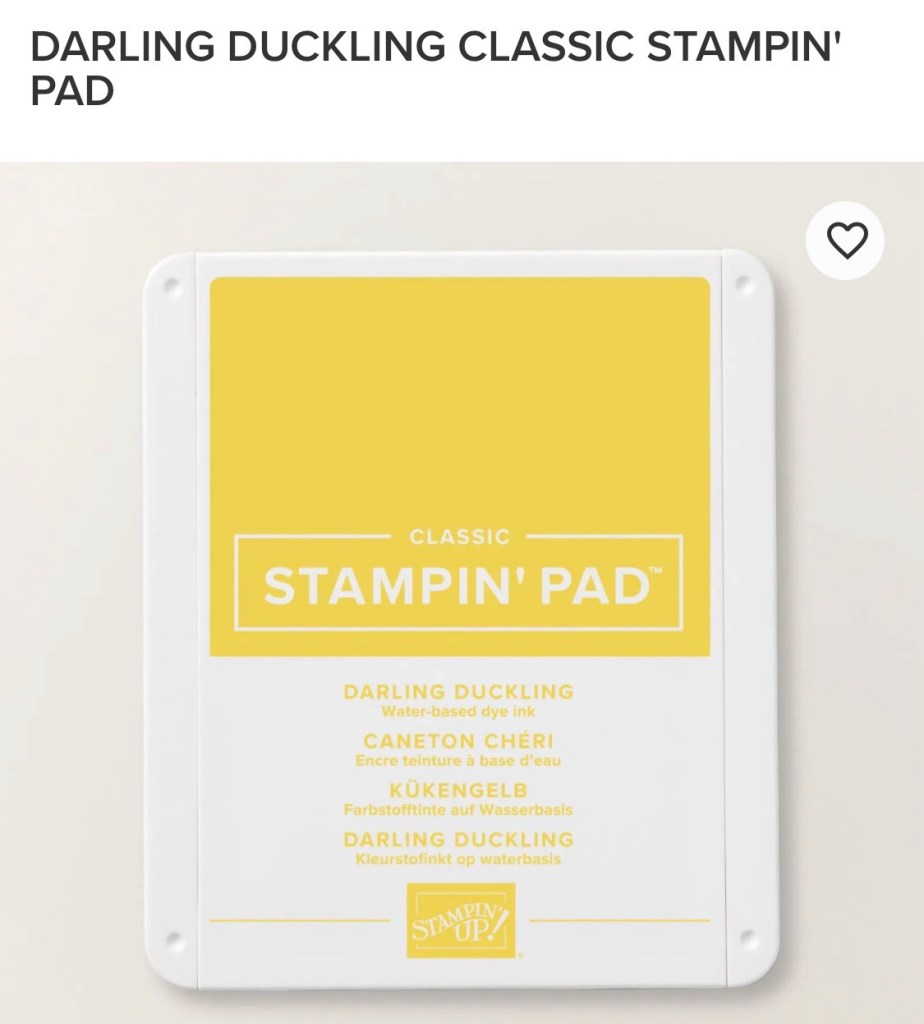
We have so many vibrant inked stamp pad colors, and it’s an absolute blast to explore them! They’re organized in fun families like Subtles, Brights, Regals, and Neutrals, with gorgeous shades of every color. You’ll definitely want a Basic Black Hybrid Stampin’ Pad (166648) for crisp outlines and added dimension—it’s a total workhorse and perfect for sentiments, too. From there, just pick two to three colors of Stampin’ Ink Pads (click here) to get started—you can always add more later, one exciting ink pad at a time! You might choose your favorite colors, shades that match the current season, or some versatile, neutral tones. As you think about your first few card designs, ask yourself: what will be the most fun and work best right now? Remember, you absolutely do NOT need to buy everything at once—take it section by section, color family by color family, and enjoy the process. This is basic advice for beginners, but experienced crafters can also benefit from simplifying, refreshing their palettes, and rediscovering old favorites. We all have our own preferences, and you can build (or rebuild!) your collection slowly and joyfully, one ink pad at a time
YOU WILL NEED CARDSTOCK
Let’s kick things off with three basic, super-versatile colors of cardstock – Basic White (166780), Very Vanilla (166784), and Basic Black (121045). Having these three on hand opens up a huge range of creative options, and it’s a fantastic place to start—remember, you do NOT need to buy every color at once!
Stampin’ Up! cardstock is wonderfully high quality. The most commonly used cardstock is 80 lbs and the thick cardstock is 100 lbs, giving your projects a sturdy, professional feel. The colors are rich and beautiful and work amazingly well for layering, folding, die-cutting, and all kinds of paper crafting—perfect for both beginners and seasoned makers.
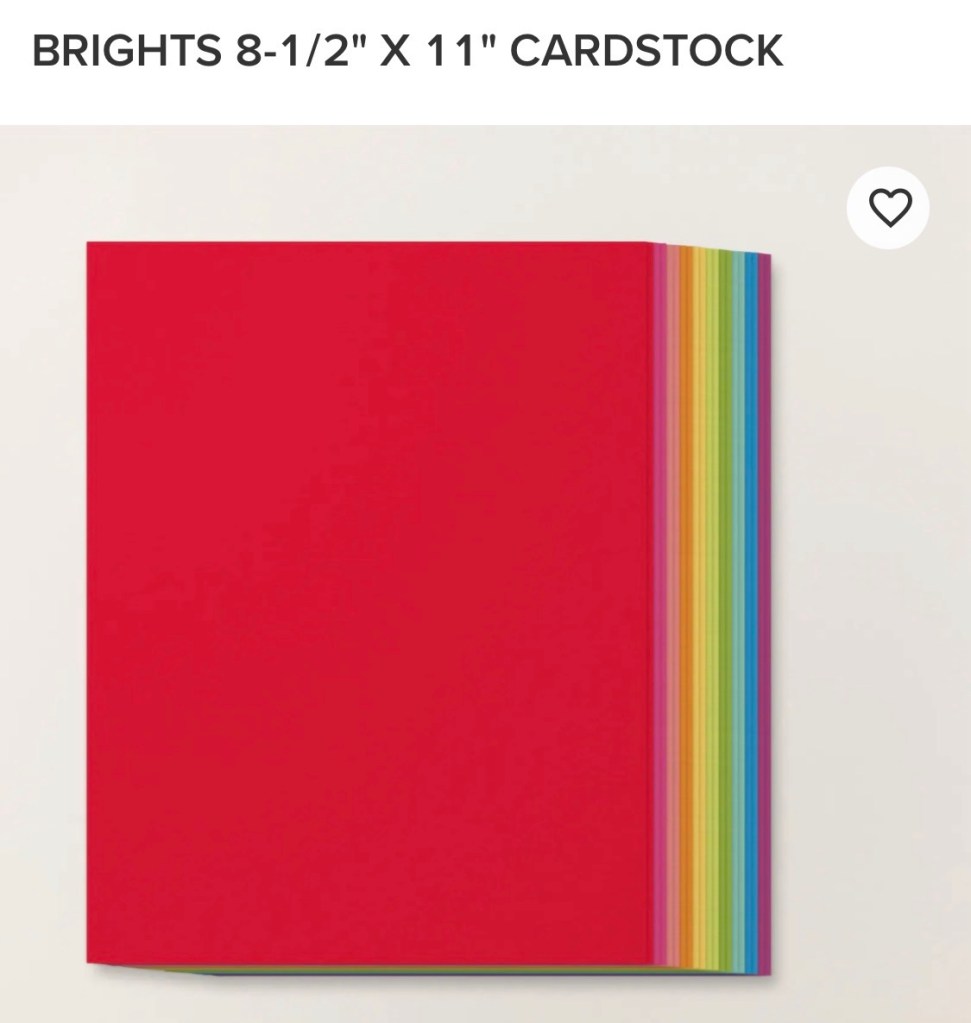
Stampin’ Up! coordinates so many colors of ink, paper, embellishments, and ribbon, which makes crafting feel seamless and polished. Start simple by choosing at least one color of cardstock that matches an ink pad you love. A great, budget-friendly option is to buy a pack of colored cardstock in one color family—for example, the Brights collection (161707) gives you a fun variety of colors to play with. You can also browse all the cardstock options HERE and match your inks. Take it one step at a time—you absolutely don’t need it all at once; you just need enough to get started and grow your stash as you go!
HOW TO HOLD IT ALL TOGETHER – ADHESIVES
There are so many awesome adhesive options to choose from, and that’s part of the fun! For a super-versatile starting point, try Multipurpose Liquid Glue (110755) and Seal Adhesive double-sided tape runners (152813). Add in Dimensionals (104430) to pop up images and add eye-catching depth to your projects. You don’t have to grab everything at once—start with one or two and then add more as you discover what you love using.
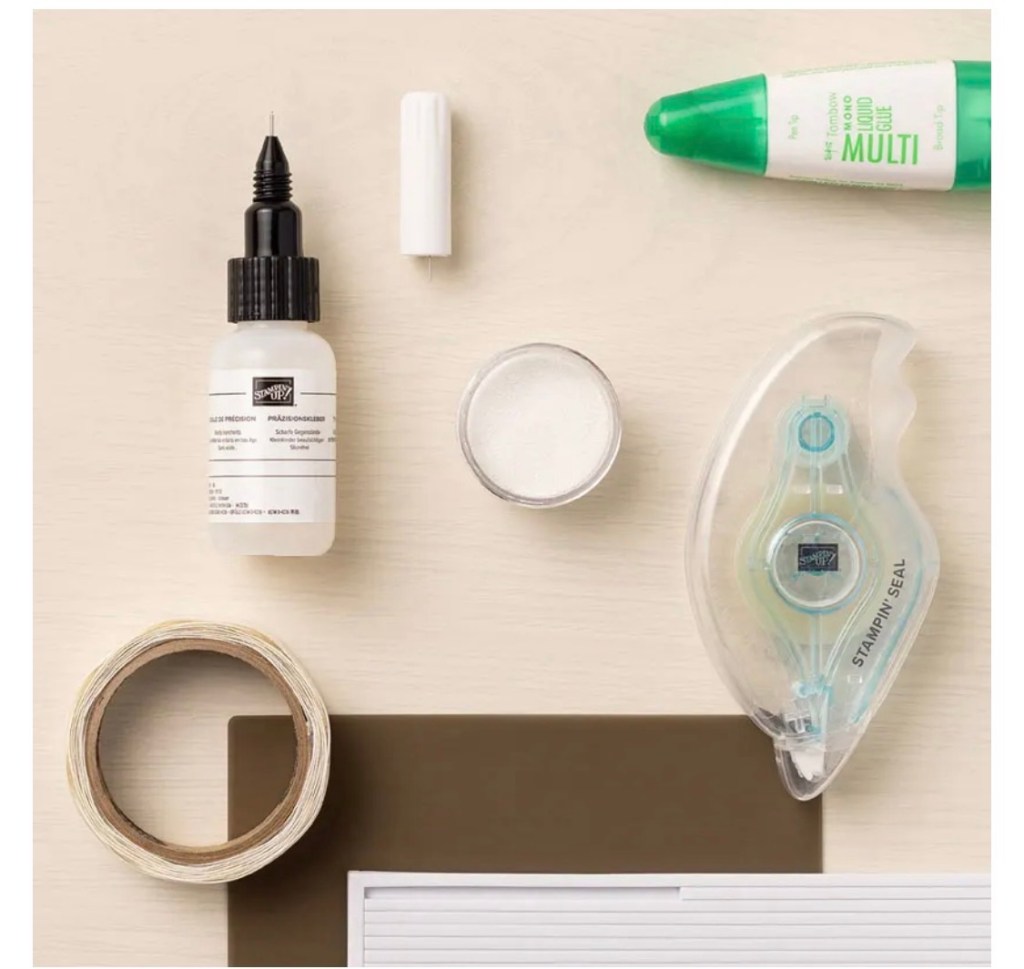
With so many types of adhesives, you might be wondering, “Why so many?” The exciting part is that each one has its own special job to make your crafting easier and more creative. Let’s walk through them so you know exactly what to reach for—and remember, you can build your adhesive collection slowly as you go.
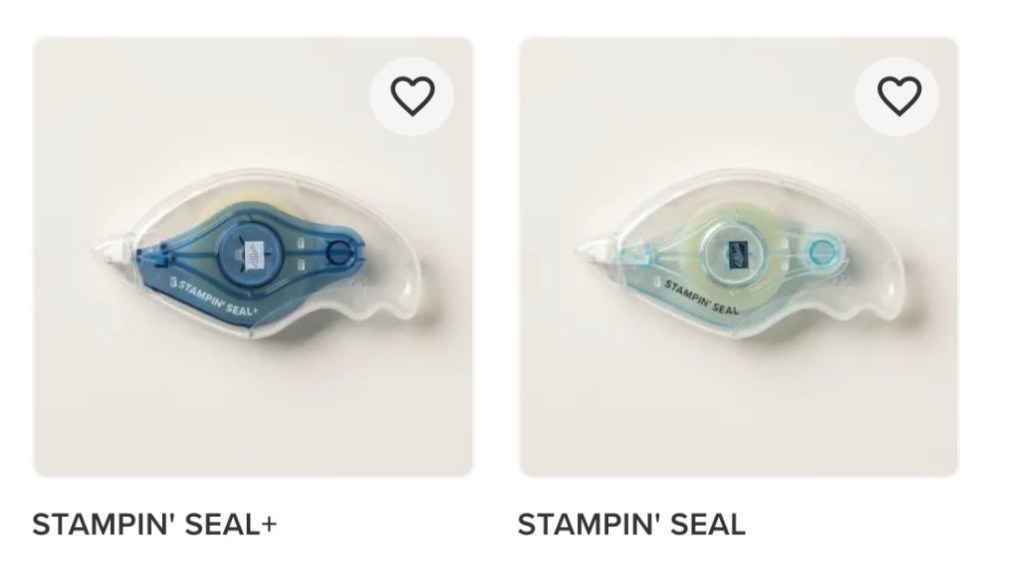
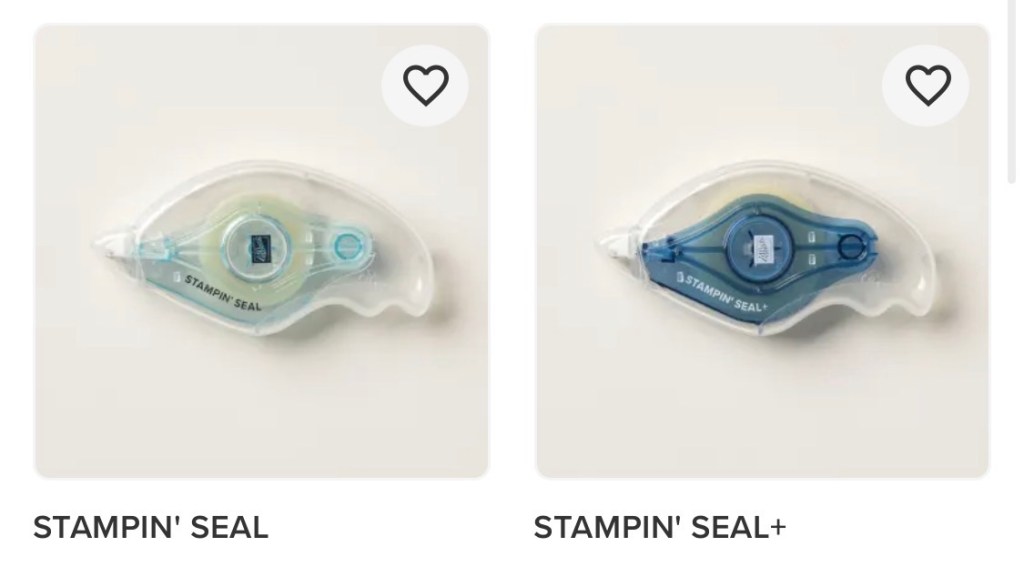
- Stampin’ Seal Adhesive – Stampin’ Seal is fantastic for securing an instant, reliable bond. Stampin’ Up! carries a regular version and an even stronger version (149699). The stronger version is especially helpful for 3D projects and heavier layers. Both will keep your projects permanently intact. What makes Stampin’ Seal so great is its acid-free composition, making it safe for all your paper crafting needs. Each runner lasts a long time, and there are refills available so you’re never caught without adhesive in the middle of a creative burst!
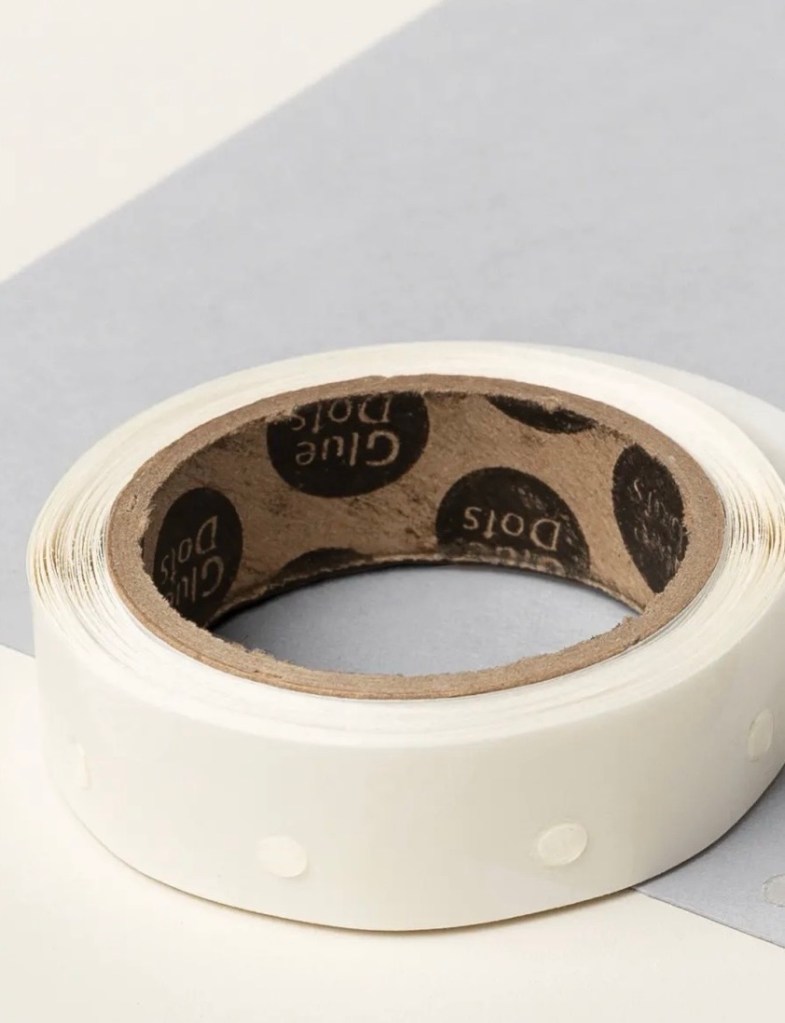
- Mini Glue Dots (103683) – These tiny dots pack a big punch! They’re excellent for securing smaller pieces of cardstock, ribbon, embellishments, or intricate die-cuts. There’s no drying time, no fumes, and no mess—just quick, easy sticking. Once you start using them, you’ll wonder how you crafted without them.
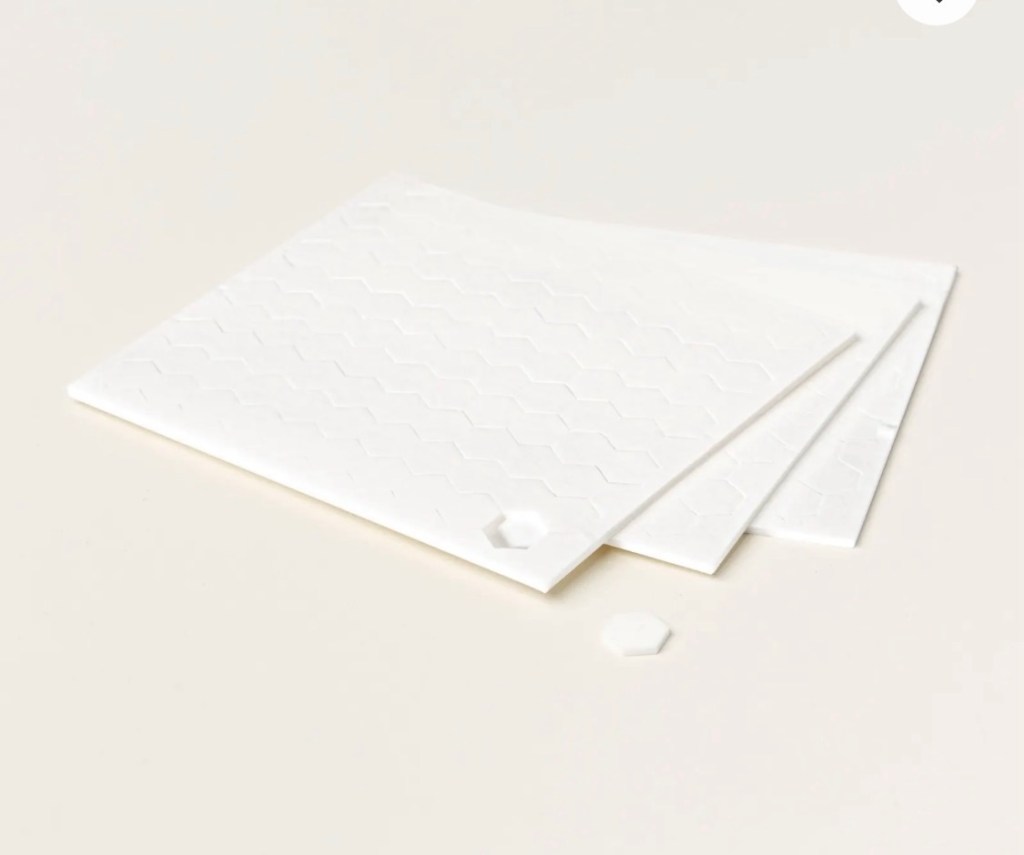
- Stampin’ Dimensionals (104430) and Mini Stampin’ Dimensionals (144108) – These are your go-to tools for adding depth and dimension to your projects. They are double-sided foam dots that lift your images and elements for an instant 3D effect and a strong bond. They come in two sizes, and as you create more projects, you’ll find yourself reaching for both again and again.
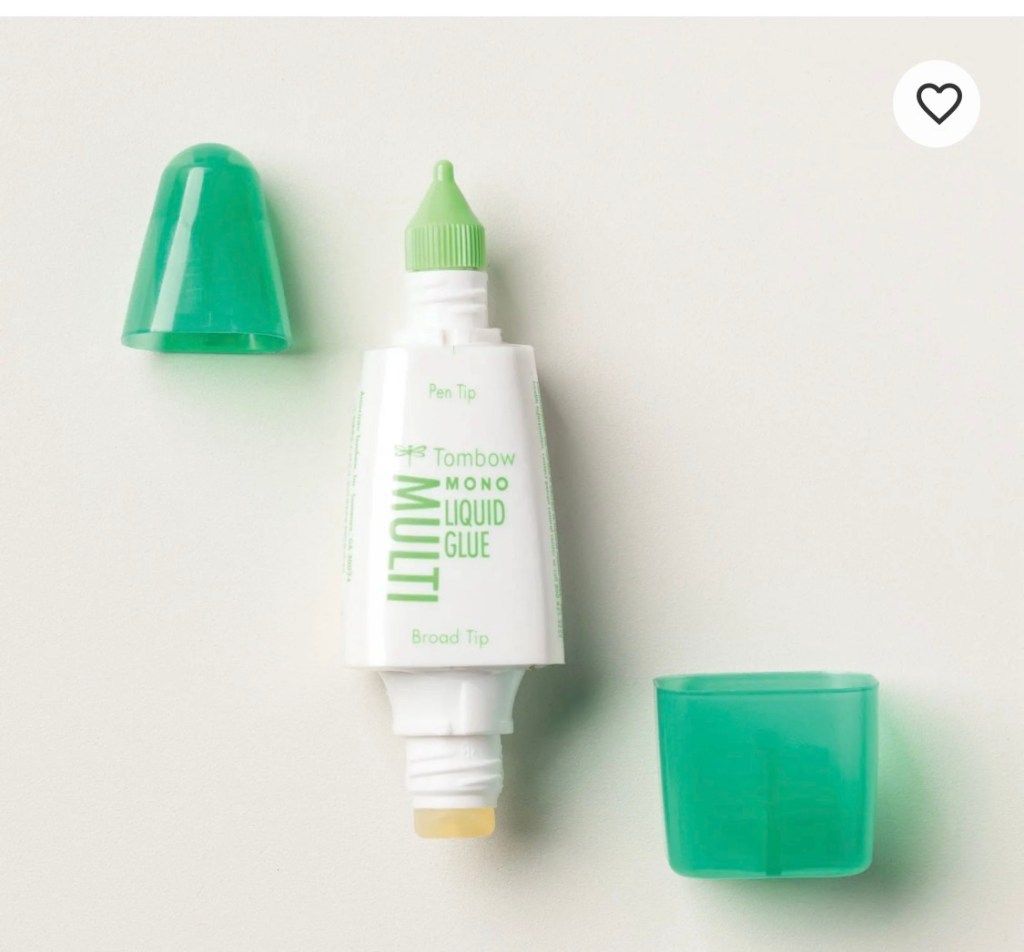
- Multipurpose Liquid Glue (110755) – Sometimes you don’t want an instant bond, or you want one adhesive that does it all. This glue goes on smoothly with its two-sided applicators—a narrow tip and a broad tip—right on one bottle. It’s perfect when you like to wiggle layers or elements into place before they permanently adhere. It gives you just enough time to adjust, then dries to a secure, lasting bond.
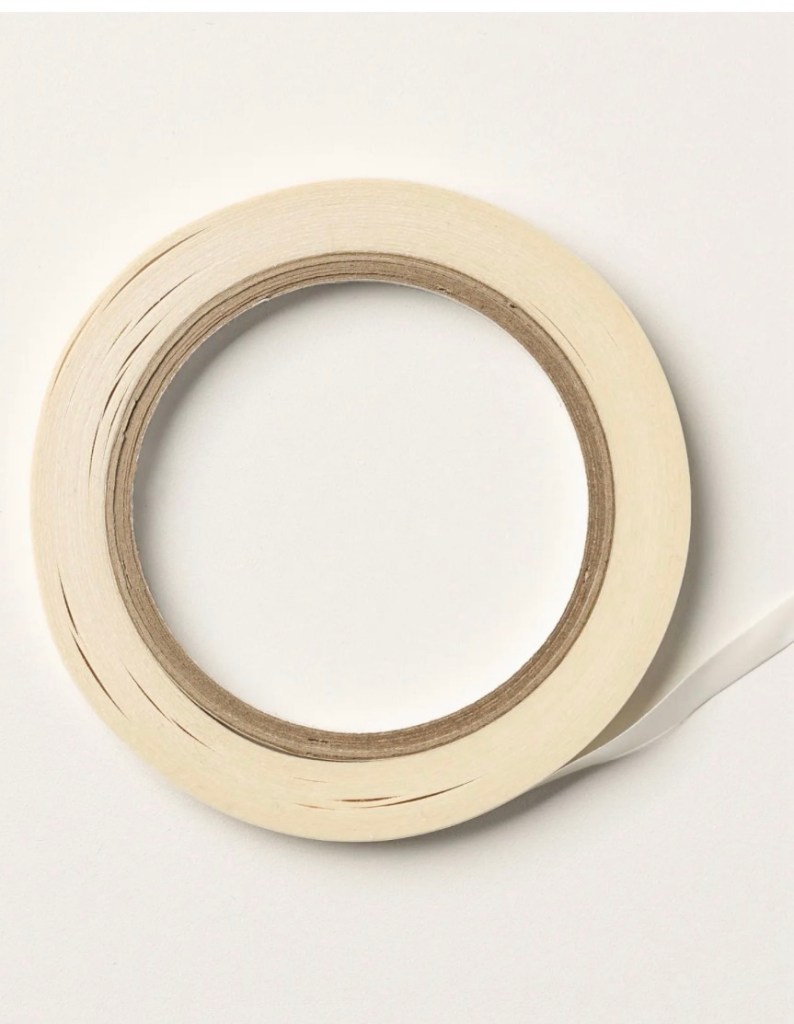
- Tear-Tape (154031) – This is a fantastic alternative to Seal+ adhesive. It’s a roll of tearable double-sided tape that gives a very strong bond to your project. Both Tear-Tape and Seal+ work beautifully; the main difference is that Tear-Tape has a paper backing. You place it where you want it, peel off the top paper, and the adhesive underneath is ready to go. It’s simple, strong, and great for boxes and 3D projects.
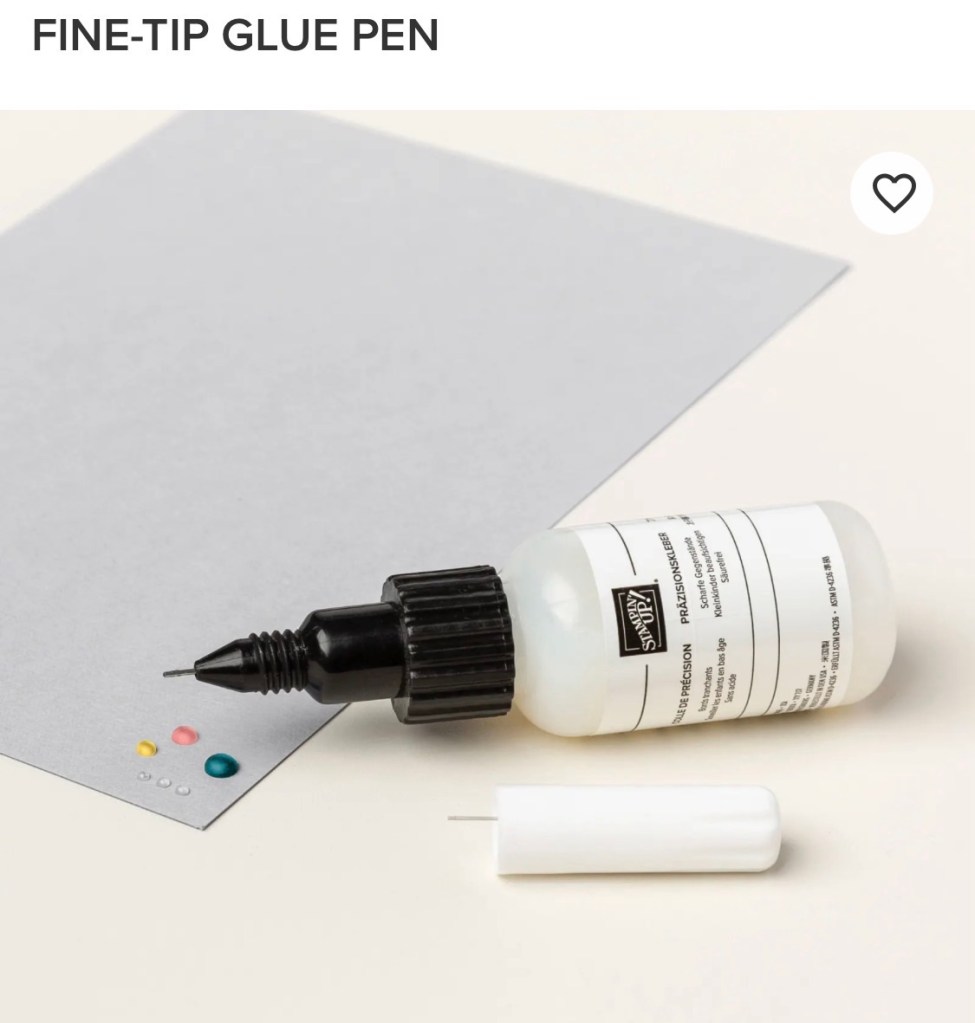
- Fine Tip Glue Pen (138309) – This is another liquid glue that bonds quickly and cleanly. Its very fine tip is incredibly helpful for bonding small, intricate embellishments or delicate die-cuts. When you’re working with tiny details, this glue makes it feel easy instead of stressful.
AND MORE TO EXPLORE!
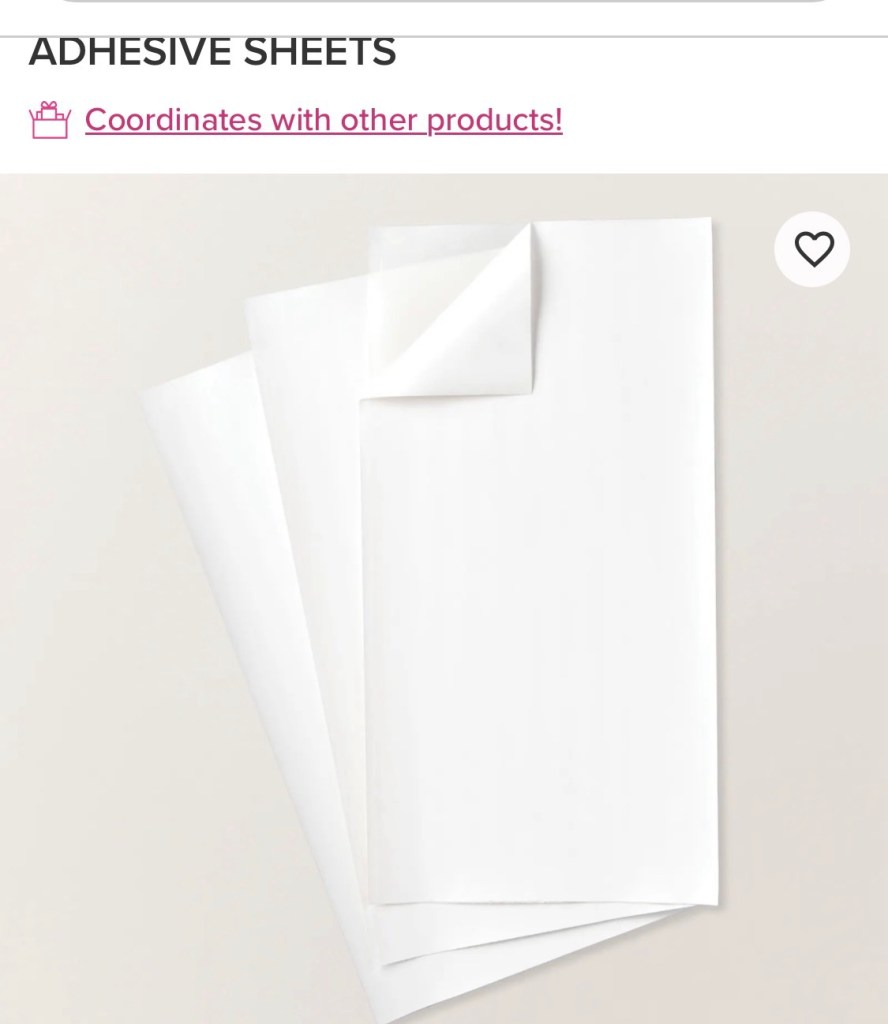
- Double-Sided Adhesive Sheets (152334) – These handy sheets transform your paper into stickers in no time. They are fantastic for detailed die-cuts and small pieces—just apply, die-cut, peel, and stick. It’s such a satisfying way to add intricate elements without the glue mess.
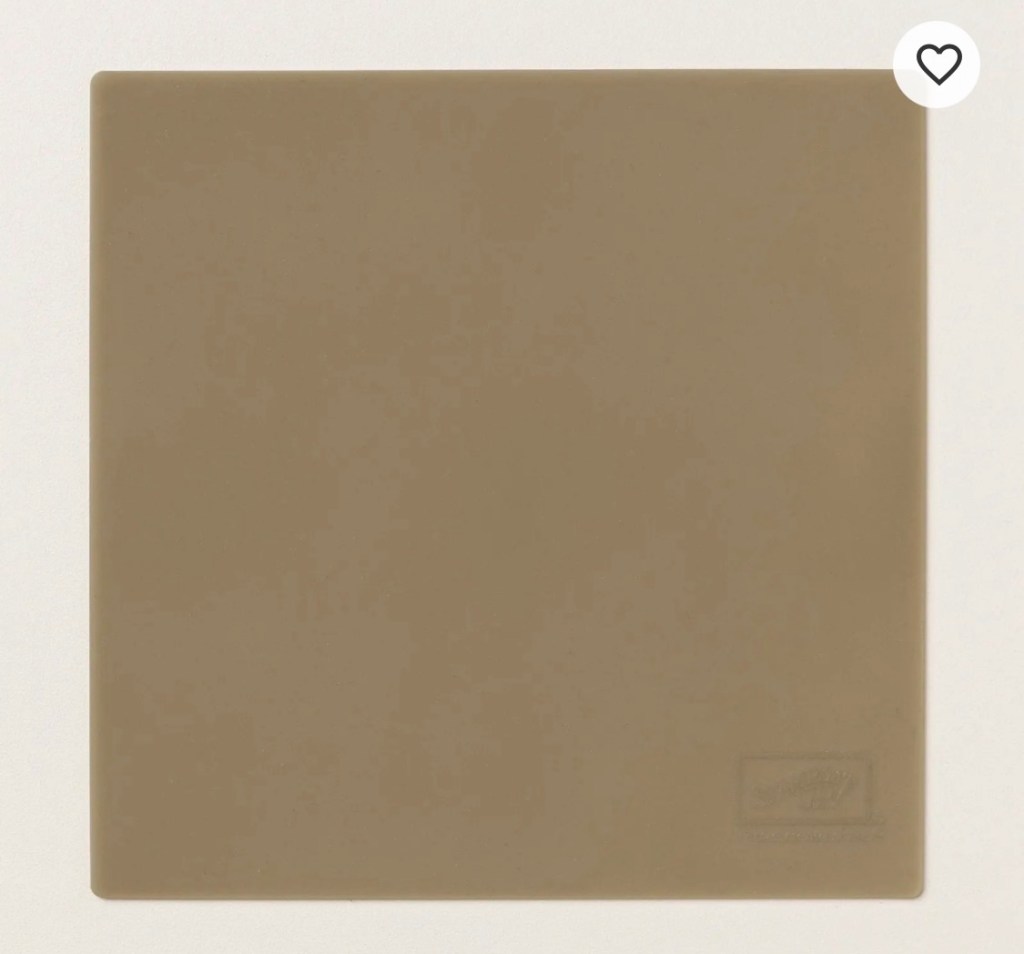
- Silicone Craft Sheet (127853) – Crafting can get messy, especially when you’re using lots of adhesives, and this tool is a game changer. This 6″ x 6″ (15.2 x 15.2 cm) nonstick, heat-resistant silicone sheet is the perfect mat to use with your adhesives—nothing sticks to it, and it’s easy to clean and reuse over and over. It helps keep your workspace neat so you can focus on the fun part: creating!
Everyone ends up with favorite adhesives, and many crafters use several different kinds on the same project. Each adhesive has a purpose and helps you get a strong, polished result. As a beginner, start simple with one tape runner and one liquid glue—that’s more than enough to make beautiful projects right away. As your confidence and creativity grow, you can slowly add more adhesives to your stash.
MORE PAPER CRAFTING BASIC TOOLS
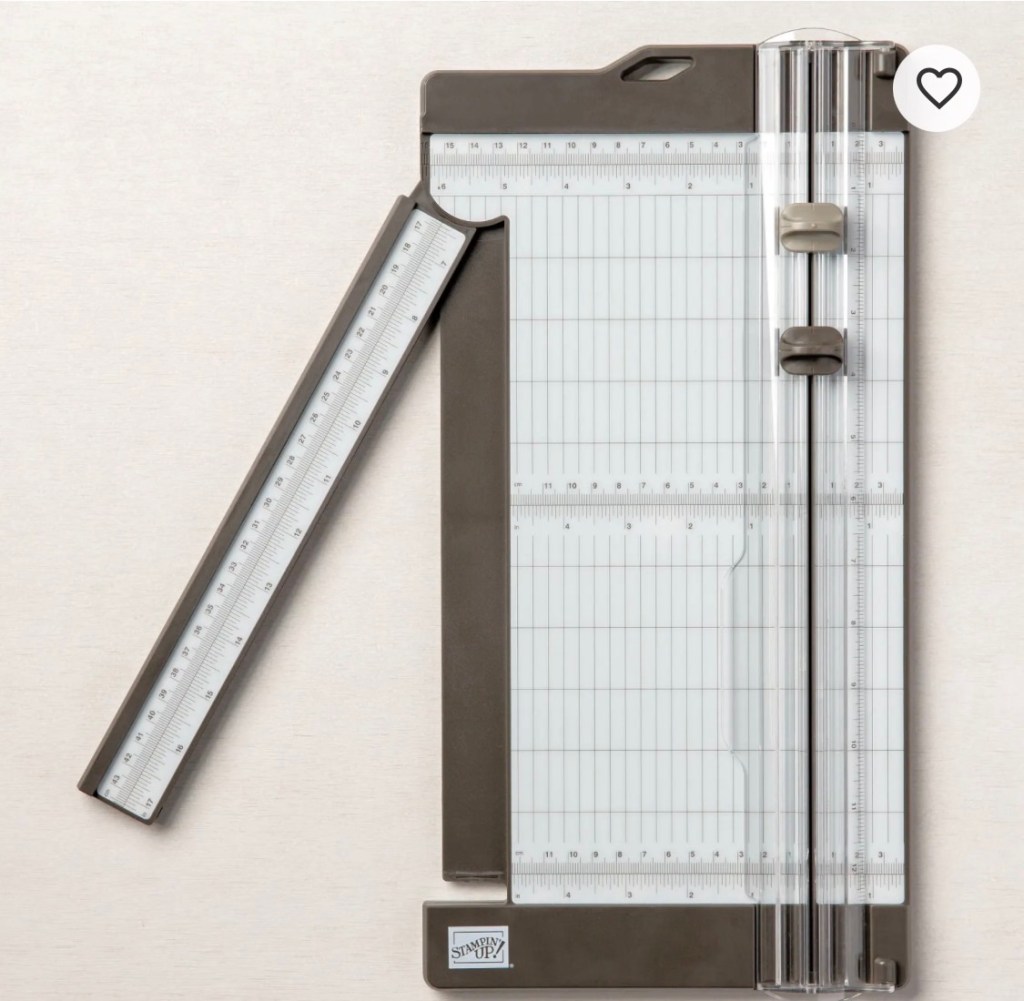
An excellent paper cutter is an absolute must-have tool, and it will instantly upgrade the look of your projects. Clean, precise cuts make everything look beautiful and professional. The dual-purpose Paper Trimmer (152392) features both imperial and metric measurements and includes 1 cutting blade and 1 scoring blade. Its cutting surface is about 12 3/8″ x 7 3/4″ (31.5 by 19.7 cm), and an attached ruler extends to 17″ (43 cm), giving you plenty of space to work. You can purchase replacement blades and scoring blades separately as needed. This is a tool that serves both beginners and experienced crafters incredibly well, and it’s one I highly recommend—invest once and enjoy it on project after project!
Keeping your stamps clean is key to getting consistently crisp, beautiful images every time you stamp. The Simply Shammy (147042) makes this so easy. You can keep it in a container (an empty stamp case works wonderfully), add water, and simply swipe your stamps across the shammy. Let your stamps dry, then you’re ready to change colors or stamp again. With just a little care, your stamps will give you years of sharp, clear images and sentiments—totally worth the tiny bit of effort!
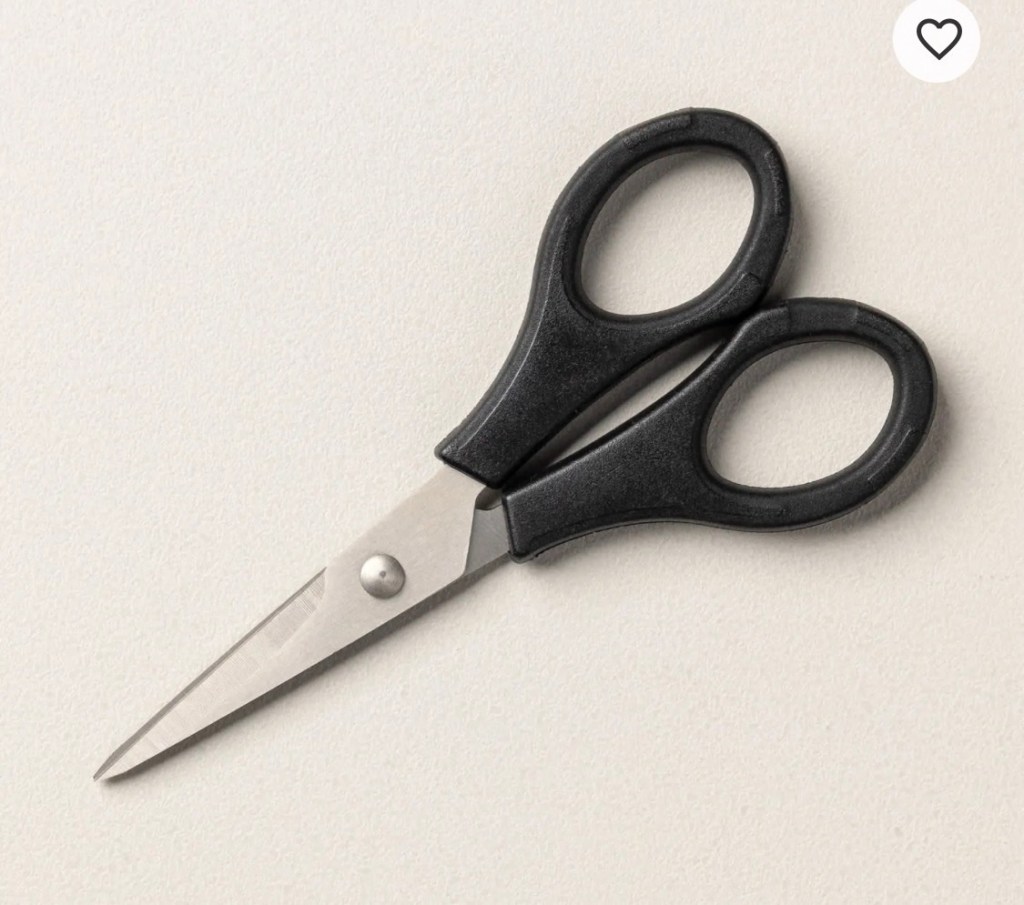
A good pair of scissors is incredibly helpful for detailed cutting. From fussy cutting stamped images to snipping ribbon cleanly, the Detailed Scissors (170902) are an essential tool in your crafting toolkit. They make those small, precise cuts feel easy instead of frustrating, whether you’re just starting out or you’ve been crafting for years.
STAMP BLOCKS
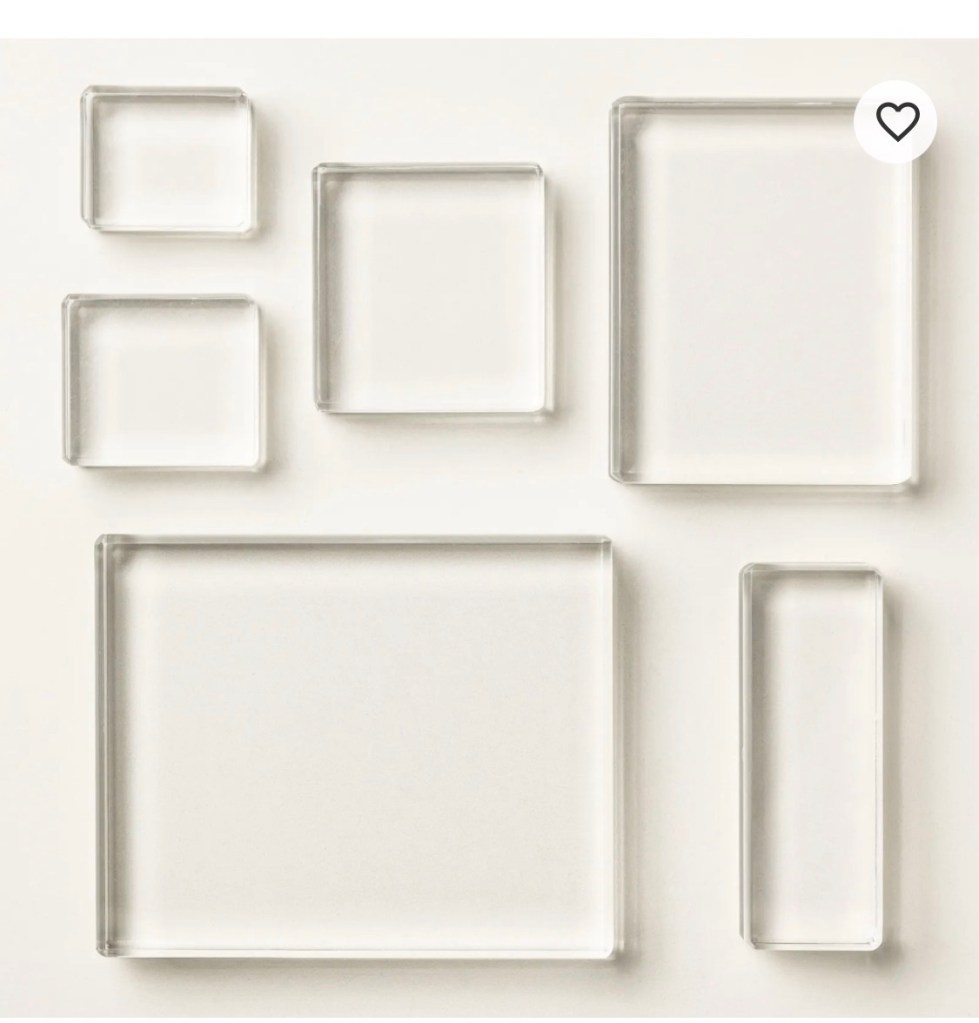
Once you have your stamps, you’ll need clear blocks to mount them on for stamping. You simply place the stamp on the block, stamp your image, then remove the stamp to clean and store it. Many crafters like to keep their blocks right within reach at their crafting table—I know I do! A great starting point is to purchase block C (118486), D (118485), and E (118484). These sizes will work beautifully with many of your stamps. For an even better value, consider the full Clear Block Bundle (165674), which includes 6 blocks of various sizes, including C, D, and E. All 6 blocks can be purchased separately, but buying the bundle saves you 10%—a nice bonus as you build your basic tools. Remember, you don’t have to buy them all at once; you can start with a couple of sizes and add more as you go.
Whew! That really seems like a lot. Papercrafting will take time to learn and purchases can be spread out. Always start with the few basics and start earning 10% back for your future orders (beginning at $20, before taxes and shipping). Do not forget to check out MY rewards program also. Rewards, rewards, rewards! They will help you with your purchases! Any questions, please contact me.
Denise AKA Niecy

